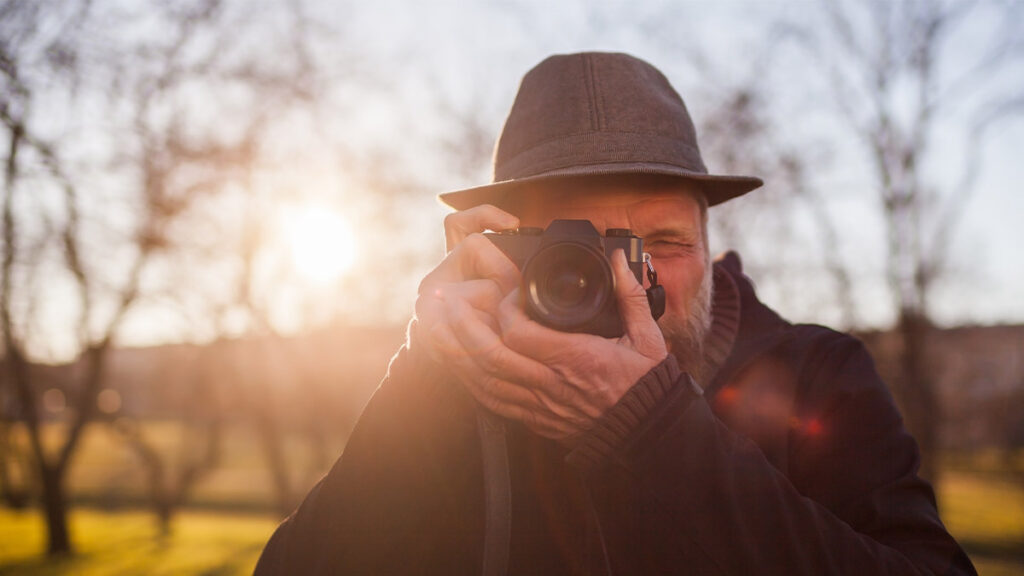
PHOTGRAPHY – THE HOBBY THAT DEMANDS PROFESSIONALISM.
Photography can be a tricky skill. Even while using a camera, many things can be added up for the perfect shot. But being there with an open mind can subtract all of this. Plus, here are some easy tips to go for a person with a fresh start and merge with their perspective for the pictures beyond your imagination.
ISO
ISO stands for International Standardization Organization and tells the camera how sensitive it needs to be to light.
It’s sometimes referred to as film speed or ISO in film cameras. You can buy film based on the amount of light sensitivity you require. If you put a roll of 400-speed film in your camera, for example, the next 36 shots must be shot with 400 settings, and you won’t be able to change it until you put a new roll in.
It’s simply called ISO on digital cameras, and unlike film, it may be modified between shots. This will help you get the best snapshot possible by ensuring that your settings are accurate.
One of the most important things to remember about ISO is that the stronger the light, the lower the ISO setting should be. The higher the setting, the darker the environment.
ISO is always the final parameter I change, and it’s the one I forget about the most. As a result, my images either show excessive white blowout, in which case I would lower the ISO level. Or they’re so dark that I can’t see anything, in which case I’d increase the ISO.
Playing around with ISO is a good way to gain a better understanding of it. During the day and at night, take a photo of the same item with different ISO settings. Examine the effects of the various settings on your photographs.
Aperture
The opening that admits light in to expose the image is referred to as the f-stop aperture. It works similarly to the iris in your eye.
The aperture, like the iris of your eye, opens and shuts in response to the illumination conditions in your environment. The only difference is that your iris does it automatically, whereas your camera’s diaphragm needs to be told how far to open.
ISO 800, f/4, 20 seconds When you press the shutter button, a portion of the camera opens to the amount you specified, exposing the film (or, in the case of digital cameras, the sensor) to the light in front of you. The button closes when you release it.
That is the most fundamental explanation of how photography works.
If you want to experiment with it, locate something to photograph outside on an overcast day. Set your shutter speed to 1/250 and your ISO to 400. Then, starting at one end, open the aperture as wide as possible. Change the setting after each photo you take to make the opening a little smaller.
Compare all of the photos when you’re through to see how they turned out.
Shutter Speed
The shutter speed determines how quickly it opens and shuts. To catch fast-moving items, you can open them for a fraction of a second. You can also leave it open for a longer time to obtain the smooth waterfall images that I adore.
When the shutter closes, it exposes the film or sensor to light, capturing the image you’re looking at via the lens. The exposure is complete when it shuts, and you have a photograph.
Shutter speeds in the 1/300 to 1/250 range are a wonderful place to start. That’s usually where I’m at. Only when I want long exposure images do I adjust it.
Have a Fearless Mindset
When you shoot in manual mode some of your photographs may be terrible. It’s part of the process of learning to shoot in manual mode. But don’t let that deter you, and don’t give up and go back to auto mode.
The benefit of digital technology is that we don’t have to spend a bunch on film just to fiddle with the settings on six of your 36 exposures. You can see it right away and retake it if necessary.
Happy Photographing.


Leave a Comment
Your email address will not be published. Required fields are marked with *